 Source: Smithsonian National Air and Space Museum
Official Assignment Description: 'design, make, and document a press-fit construction kit'
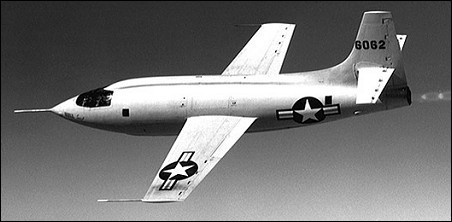
The Bell X-1 was the first aircraft to break the sound barrier under its own power.
The aircraft was piloted by legendary test pilot Chuck Yeager and currently resides in the Smithsonian Air and Space Museum's 'Milestones of Flight' exhibit.
This week's project will be a tribute to the aptly named 'Glamorous Glennis.'
Source: Smithsonian National Air and Space Museum
Step 1: Do an example cut to become familiar with laser cutter protocol and press-fit tolerances.
Step 2: Obtain CorelDRAW (thanks Tom!) to avoid file type conversion complications. CorelDRAW was relatively straight-forward to learn and use...but seemed more suited to artistic projects than precisely dimensioned drawings.
Step 3: Find outline of Bell X-1; trace it to obtain shape in CorelDRAW.
x1.gif
Step 4: Make all pieces and arrange for printing. Be sure to use 'hairline' thickness for lines.
X-1.cdr
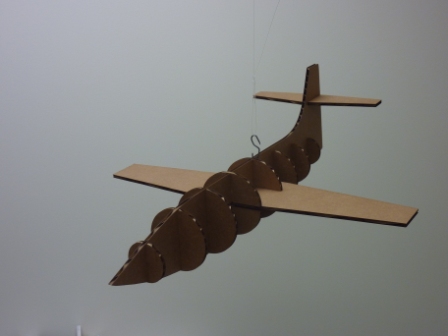
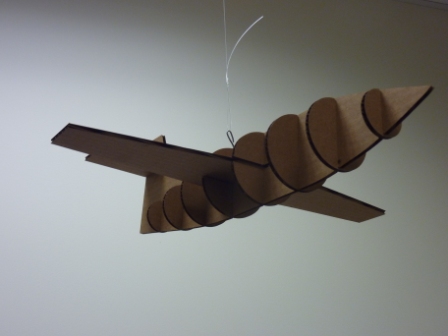
Step 5: Cut pieces and assemble.